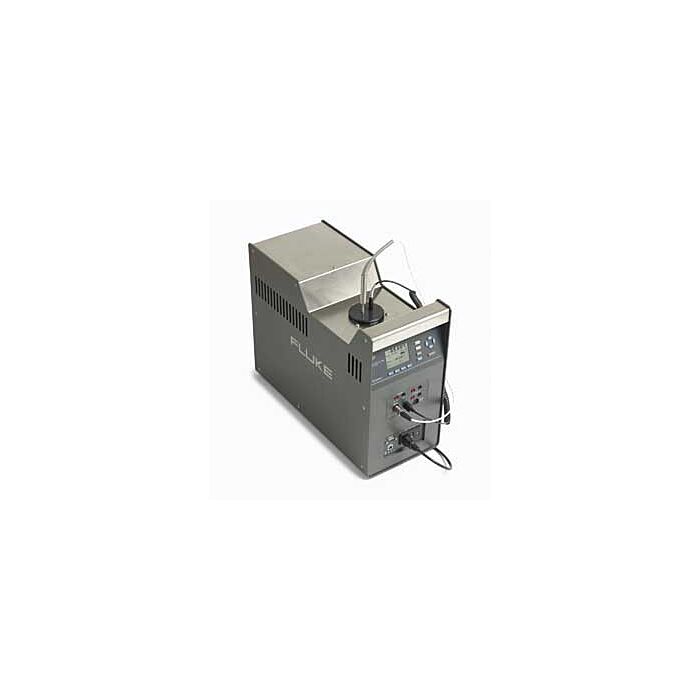
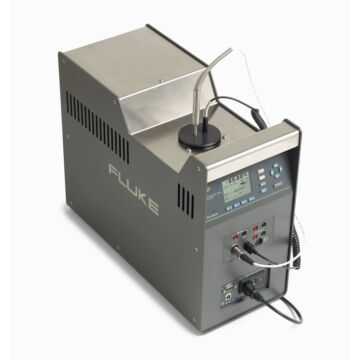
Fluke Calibration 9190A

Fluke Calibration 9190A Ultra-Cool Field Metrology Well

Order # Fluke Calibration 9190A Field Metrology Well

Mfg #

call-regular 800-828-1470
  • Overview
  • Technical Resources
  • Specifications

Fluke Calibration 9190A Ultra-Cool Field Metrology Well

Order # Fluke Calibration 9190A Field Metrology Well
Call for price
Also Available:

Tariff fees or manufacture imposed surcharges may be applicable.

This product is available for shipping to the United States, Canada, and Puerto Rico only.

Overview

Product Highlights

  • Ultra-cool dry-block calibrator with best-in-class stability
  • Wide temperature range: –95 °C to 140 °C
  • Best-in-class stability: ± 0.015 °C full range
  • Excellent accuracy: ± 0.05 °C with external reference
  • Fast cooling time: 23 °C to –95 °C in 90 minutes
  • Best measurement practices: Conforms to EURAMET cg-13 guidance
  • Immersion depth 160 mm (6.3 in)
  • Size (H x W x D) 480 x 205 x 380 mm (18.8 x 8.0 x 14.9 in)
  • Weight 16 kg (35 lb)

Each Unit Includes

  • 9190-INSX Insert (X=A,B,C,D,E, or F)
  • 6-foot Mains Power Cord
  • USB Cable
  • Getting Started Manual
  • Product CD that contains manuals and remote interface driver files
  • 9930 Interface-It Calibration Software and Users Guide
  • Report of Calibration and Calibration Label
  • Well Insulator Cap
  • Insert Removal Tool
  • 4 Clamp-on Ferrites (-P model only)
  • 6-pin DIN Connector (-P model only)
  • Test Lead Kit (-P model only)

Technical Resources

Specifications

Base unit specifications
Temperature range at 23 °C –95 °C to 140 °C (–139 °F to 284 °F)
Display  accuracy ± 0.2 °C full range
Accuracy with  external reference [3] ± 0.05 °C full range
Stability ± 0.015 °C full range
Axial uniformity at 40 mm (1.6  in) ± 0.05 °C full range
Radial gradient ±0.01 °C full range
Loading effect (with a 6.35  mm reference probe  and three  6.35  mm probes)
± 0.006 °C full range
(versus display  with one 6.35  mm probe)
± 0.25 °C at –95 °C
± 0.10 °C at 140 °C
Operating conditions 0 °C to 35 °C, 0 % to 90 %
RH (non-condensing) < 2000 m altitude
Environmental conditions for all specifications except temperature range 13 °C to 33 °C
Immersion (well)  depth 160  mm (6.3 in)
Well diameter 30 mm (1.18 in)
Heating time [1] –95 °C to 140 °C: 40 min
Cooling  time [1] 23 °C to –90 °C: 80 min
23 °C to –95 °C: 90 min
140 °C to 23 °C: 60 min
Stabilization time [2] 15 min
Resolution 0.01  Â°
Display LCD, °C or °F user selectable
Size (H x W x D) 380 mm x 205 mm x 480 mm (14.9 in x 8.0 in x 18.8 in)
Weight 16 kg (35 lb)
Power requirements 100 V to 115 V (± 10 %) 50/60 Hz, 575 W
200 V to 230 V (± 10 %) 50/60 Hz, 575 W
System fuse  ratings 115 V: 6.3 A T 250 V
230 V: 3.15  A T 250 V
4–20 mA Fuse  (-P model only) 50 mA F 250 V
Computer interface RS-232, USB Serial, and 9930 interface-it temperature calibration software included
Safety IEC 61010-1, Installation Category II, Pollution degree 2
Electromagnetic environment IEC 61326-1: Basic
Refrigerants R32 (Difluoromethane)
< 20 g, ASHRAE safety group A2L
R704 (Helium)
< 20 g, ASHRAE safety group A1
-P Specifications
Built-in reference thermometer readout accuracy (4-wire reference probe) [3] ± 0.010 °C at –95 °C
± 0.013 °C at –25 °C
± 0.015 °C at 0 °C
± 0.020 °C at 50 °C
± 0.025 °C at 140 °C
Reference resistance range 0 Ω to 400 Ω
Reference resistance accuracy [4] 0 Ω to 42 Ω: ± 0.0025 Ω
42 Ω to 400  Î©: ± 60 ppm of reading
Reference characterizations ITS-90, CVD, IEC-751, resistance
Reference measurement capability 4 wire
Reference probe connection 6-pin din with INFO-CON technology
Built-in RTD thermometer readout accuracy NI-120: ± 0.015 °C at 0 °C
PT-100 (385): ± 0.02 °C at 0 °C
PT-100 (3926):  Â± 0.02 °C at 0 °C
PT-100 (JIS): ± 0.02 °C at 0 °C
RTD resistance range 0 Ω to 400 Ω
Resistance accuracy [4] 0 Ω to 25 Ω: ± 0.002 Ω
25 Ω to 400 Ω: ± 80 ppm of reading
RTD characterizations PT-100 (385), (JIS), (3926), NI-120, resistance
RTD measurement capability 2-wire, 3-wire, and 4-wire RTD with jumpers  only
RTD connection 4-terminal input
Built-in TC thermometer readout accuracy [5] Type J: ± 0.70 °C at 140 °C
Type K: ± 0.75 °C at 140 °C
Type T: ± 0.60 °C at 140 °C
Type E: ± 0.60 °C at 140 °C
Type R: ± 1.60  Â°C at 140  Â°C
Type S: ± 1.60  Â°C at 140  Â°C
Type M: ± 0.65  Â°C at 140  Â°C
Type L: ± 0.65  Â°C at 140  Â°C
Type U: ± 0.70 °C at 140 °C
Type N: ± 0.75 °C at 140 °C
Type C: ± 1.00 °C at 140 °C
TC millivolt range –10  mV to 75 mV
Voltage accuracy 0.025 % of reading +0.01 mV
Internal cold  junction compensation accuracy ± 0.35 °C (ambient of 13 °C to 33 °C)
TC connection Miniature connectors (ASTM E1684)
Built-in mA readout accuracy 0.02  % of reading + 0.002 mA
mA range Cal 4-22 mA, Spec 4-24 mA
mA connection 2 terminal  input
Loop power function 24 V dc loop power
Built-in electronics temperature coefficient
(0 °C to 13 °C, 33 °C to 50 °C)
± 0.005 % of range  per °C

Notes:
[1]   For ambient temperature of 23 °C.
[2]   Time from when the SETPOINT is reached to when the unit is with in stability  specification.
[3]   The temperature range  may be limited by the reference probe  connected to the readout.
The built-in reference accuracy  does not include  the sensor  probe  accuracy.  It does not include  the probe  uncertainty or probe  characterization errors.
[4]   Measurement accuracy  specifications apply within  the operating range  and assume 4 wires  for PRTs. With 3-wire RTDs add 0.05  Î©to the measurement accuracy  plus the maximum possible  difference between the resistances of the lead wires.
[5]   The thermocouple input readout is sensitive to EM fields in the frequency range  of 500  MHz to 700  MHz.

All Products in Series